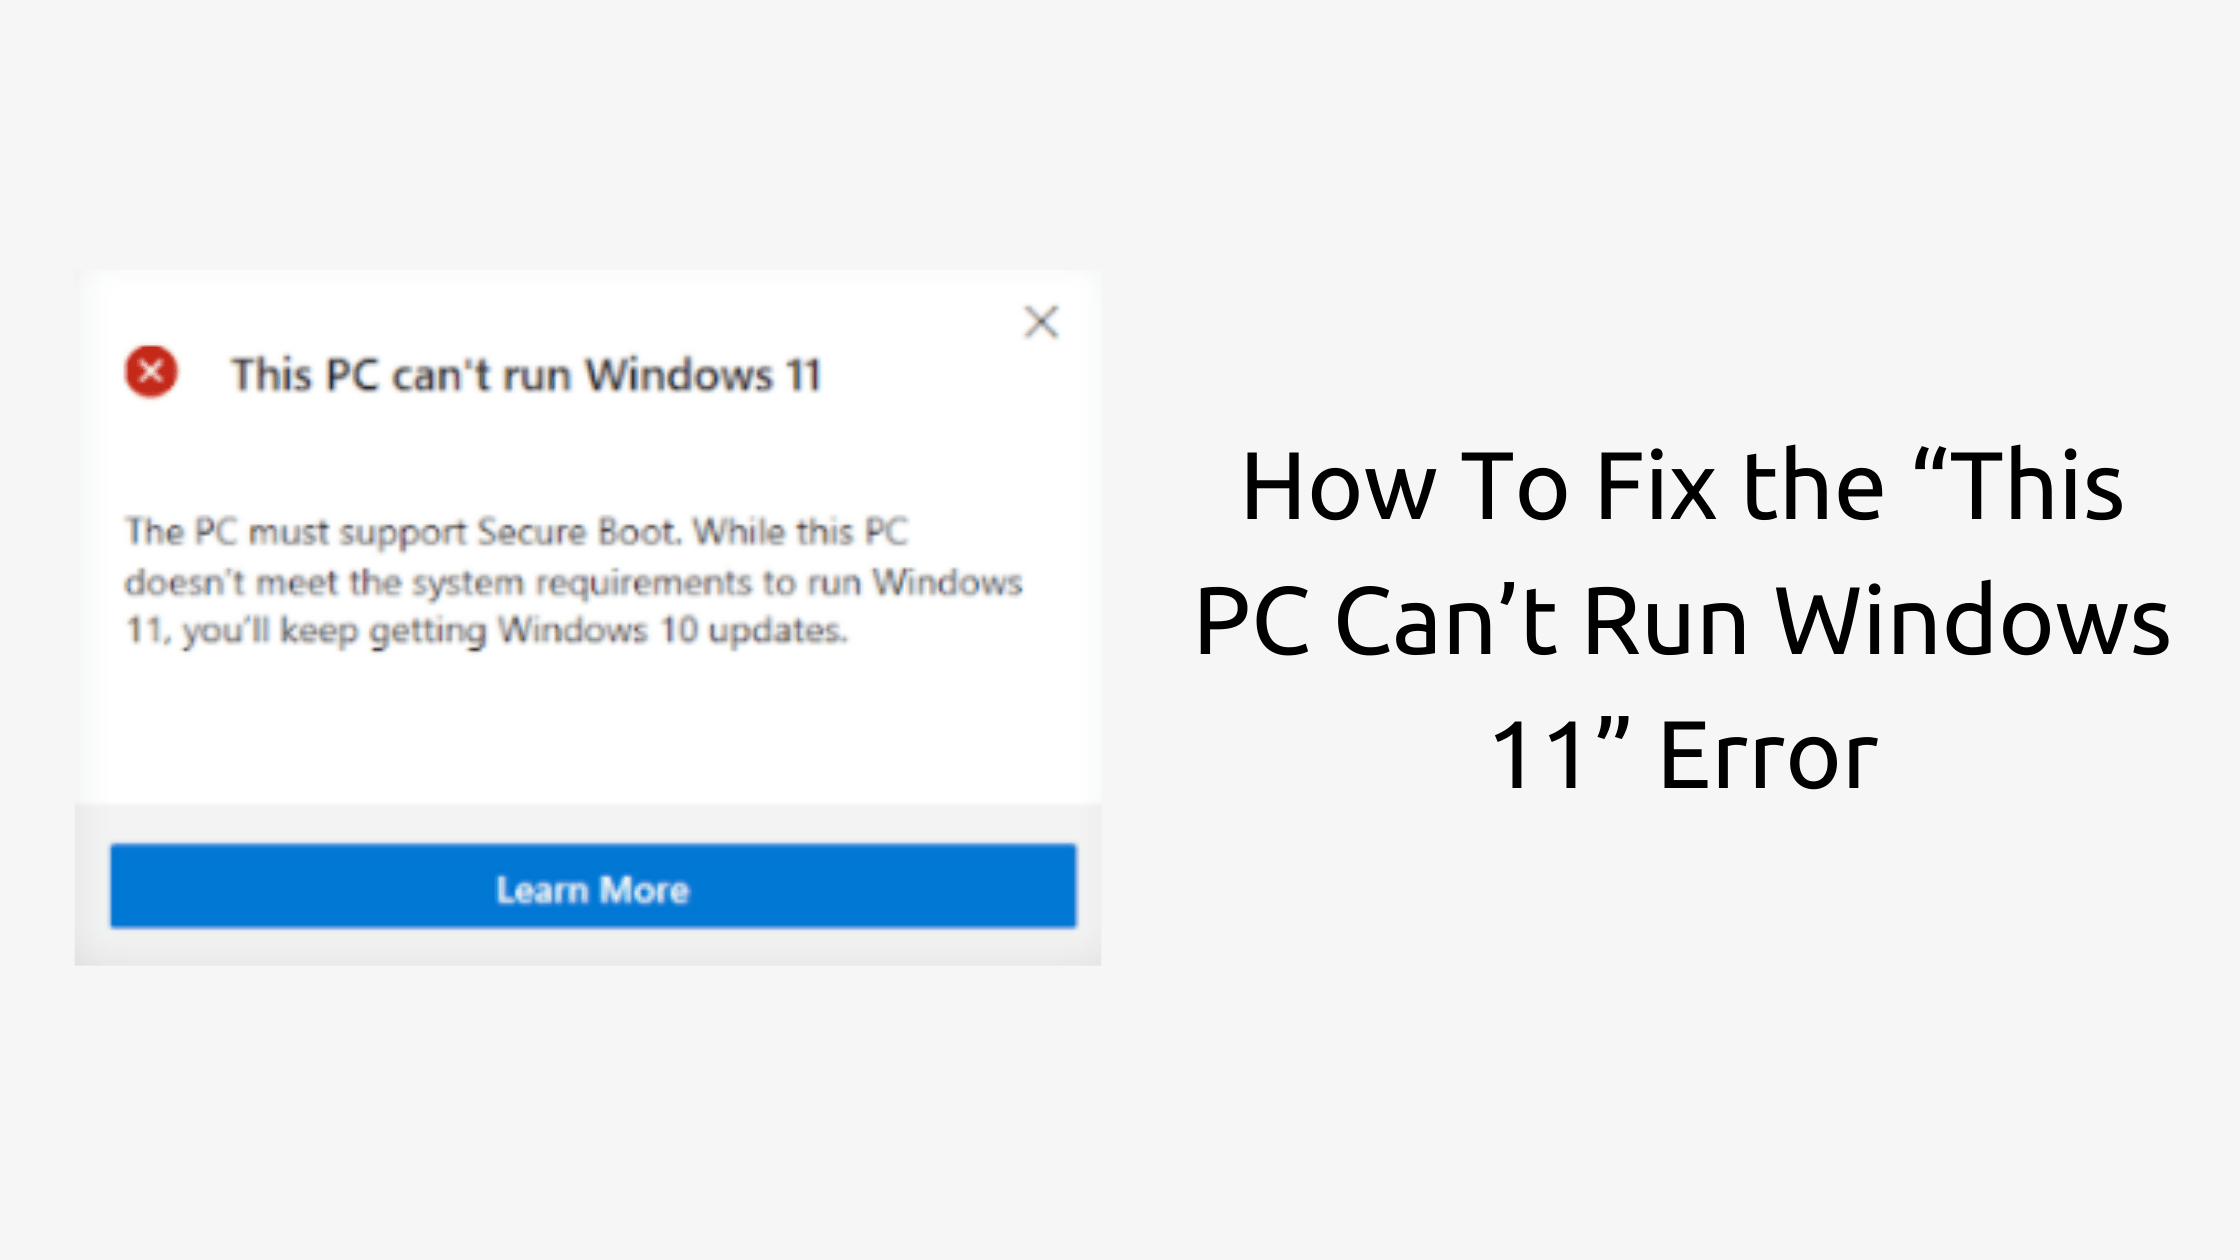
Microsoft’s latest operating system Windows 11 has recently been officially released. Windows operating system users were eagerly awaiting the use of Windows 11 operating system. There are some minimum requirements for using Microsoft’s Windows 11 operating system which Windows 11 will not run if not fulfilled. You need to use PC Health Check software to check the capability of Windows 11. This will allow you to know if your PC has fulfilled the requirements to run Windows 11. And according to this health test result, he is getting frustrated that Windows 11 will not run on his PC.
While it is normal for an old computer to not have the requirements of a new operating system, many powerful computers are also getting bugs. If you want your computer to meet this minimum requirement then you should continue reading this article. In this article I will show you how to fix this PC Can’t Run Windows 11 error
Table of Contents
Why shows the “This PC Can’t Run Windows 11” Error?
There are several possible reasons why this PC can’t run Windows 11 error. Depending on your setup and computer, there may be different ways to fix this problem. So first find out the reasons and identify them.
Your hardware is too old, or simply not powerful enough: If you run with an old computer setup or the parts of your computer do not work properly then you will face this error. Then your PC will not fulfill the system requirements of Windows 11.
TPM/PTT or Secure Boot aren’t enabled in your BIOS: Windows 11 requires TPM 2.0 and secure boot to run perfectly. If these features are disabled in your computer’s configuration, a healthy test will show that your PC is unable to run Windows 11.
After you enable TPM and Secure Boot, your PC will pass the minimum requirements of Windows 11. Check again to see if all other system requirements are met.
What Is TPM and Secure Boot and Why Are They Needed?
TPM stands for Trusted Platform Module. It is a special electronic chip. It is a special chip of your computer that works for encrypting your data and keeps you safe. Fortunately, all computers built since 2016 include the TPM 2.0 chip. If your PC is in it, then running Windows 11 operating system on your computer.
Secure boot is a special feature of your computer’s BOIS system. It is also known as UFE. Which protects your system from malware. This only allows the signing operating system to boot.
These two features have been made exceptional in Windows 11. Microsoft has done this to increase the security of all their users.
How To Enable TPM and Secure Boot in UEFI/BIOS
If your device has TPM and is compatible with Secure Boot, you will need to enable both to run Windows 11 operating system on your PC. How to boot TPM 2.0 and Secure boot Enable it is shown below.
Here’s how you can enable TPM and Secure Boot on Windows 10:
- Close all of your applications and turn off your PC.
- Then turn on your PC, and press the F2 key on your keyboard. This is the general function key needed to enter the BIOS, but some computers and laptops may have a different key assigned. You can try holding F8, F10, F12, or Del.
- When the BIOS screen shows up, use the arrow keys to navigate to the Boot Menu. And Select Boot Mode and press Enter, then choose Legacy.
- Select UEFI from the available options, then press Enter to finalize the change.
- When done, switch to the Security tab. Highlight the Secure Boot option with the arrow keys, and press Enter. Make sure to pick Enabled.
- Highlight the Trusted Platform Technology option, and press Enter. Note that on some devices, you may see the Intel Platform Trust Technology (PTT) option instead.
- Choose Enabled and hit Enter.
Once you have completed the above processes, your TPM and secure boot will be enabled. Now that your computer is turned on, you can check the health of your PC again to see if Windows 11 can be run on your PC.
Final Thoughts
We hope this method has helped you fix the “This PC can’t run Windows 11” warning when checking minimum requirement with the latest operating system.


